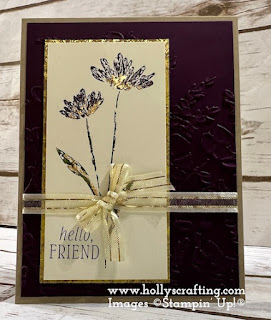
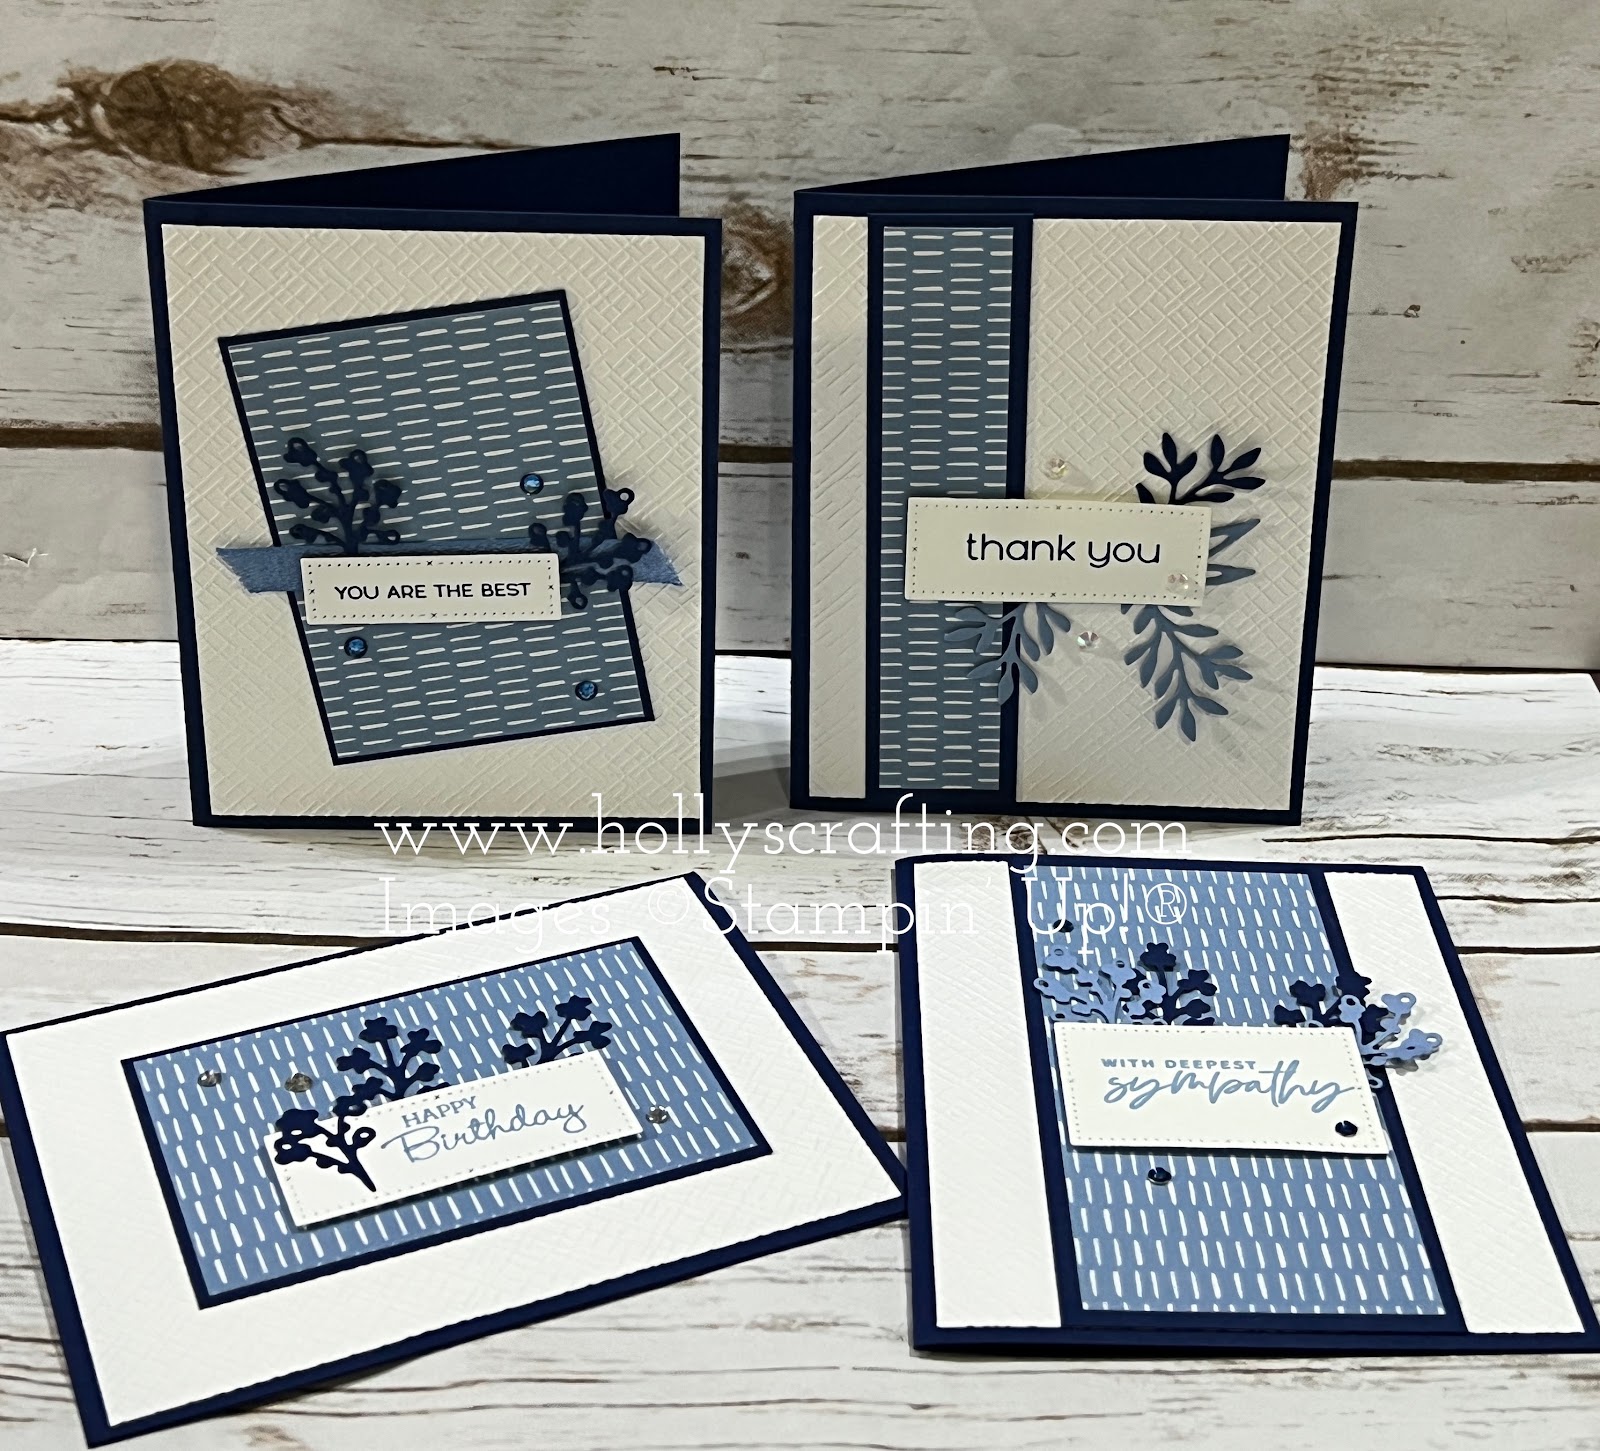
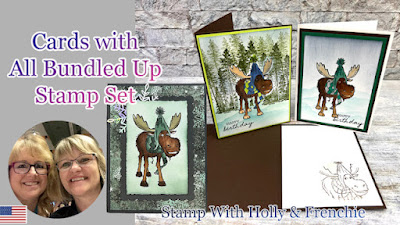
Mystery Stamping #9 With Holly and Frenchie. This is the perfect time to create a card with Frenchie and I. This will be a Free Stamping class live on Youtube.
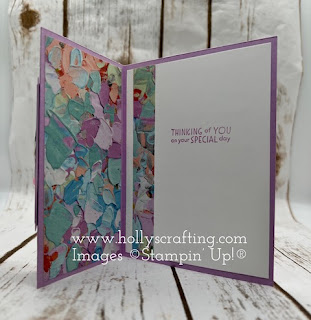
This month it's two for one. We'll make two cards. Frenchie will teach one, and I will teach one, plus we will have some extra samples for both cards. In this mystery stamping, we'll share some fun layouts using scrap designer paper plus a fun fold.
The time zones for the class are
- Hawaii 3 pm
- Alaska 4 pm
- Pacific 5 pm
- Mountain 6 pm
- Central 7 pm
- Eastern 8 pm
Join us live
The link to this video will be active at 6 pm mountain time. If you can not join us live for any reason, you can watch the replay after the event is over, as this will be recorded.
Before the live event, please gather your supplies to create with us; then, I will share all about this mystery stamping live on YouTube.

The link for the video will NOT be activated till we start the live. This format will be different from the past because we will both be live from two different locations. To set that up, we ( I mean Frenchie) need to make the connection. Make sure you scroll down to the bottom for all the supplies and measurements you need to make the mystery card. Also, I have a link where you can share your finished card.
Time zone is
Hawaii 3 pm
Alaska 4 pm
Pacific 5 pm
Mountain 6 pm
Central 7 pm
Eastern 8 pm
What is Mystery Stamping?
I bet many will ask, what is Mystery Stamping? Well, it is a mystery till the event is over. But here is how it works. First, prepare your supplies (list below), and we will teach you how to make a card with the supplies you have gathered from the list below. It is a simple card for all levels of stampers. I am sure you will be pleased with tonight's card if you are a beginner or an avid stamper. This will be lots of fun so I hope you can join us live.
Holly's Card Measurements

Card #1 with Holly
- Color cardstock 8½ x 5½, 4 x 5¼
- Coordinating card stock 4⅛ x 5⅜
- White or Vanilla 2 x 5, die cut or punch for your greeting
- Designer paper 5 pieces ½ x 2¾ of one design and 5 pieces ½ x 2¾ of coordinating design
The stamp set and ink will be shared with you need tonight, as this can be finished after the card is complete.
Frenchie's Card Measurements
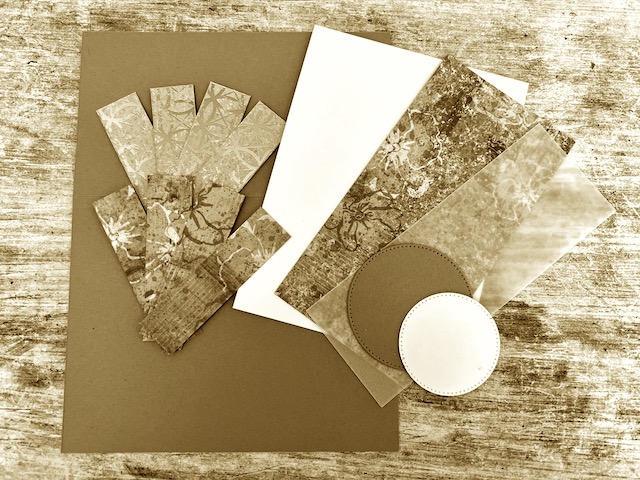
Card #1 with Frenchie
- Color cardstock 7 ¼ x 5 ½, 1 ¾ circle.
- White or Vanilla 2 x 5 ¼, 2 "circle.
- Designer paper 5 pieces ¾ x 2¾ of one design and 5 pieces ¾ x 2¾, 2¾ x 5¼ of coordinating design.
A greeting stamp that fits in the 1¾ circle, one ink pad that coordinates with the color cardstock.
Thanks so much for stopping by!! I really appreciate it.
To get updates in your inbox when I post to my blog, please click HERE
To join my team, click here. This is an awesome deal for the month of October, 2022. You choose any products you like for your starter kit that totals $155.00 and you only pay $99.00 plus sales tax. The kit ships to you free plus you get a free past paper pumkin kit. There is no commitment to sell or have parties. You can just shop for yourself and get a minimum discount of 20%. If you only want the starter kit and then do nothing else, that is perfectly fine. Please contact me if you have any questions at all.
All orders of $40.00 or more before tax and shipping placed in my online store with Hostess Code NHTYC4ZN qualifies for the FREE PDF. This month's file includes 7 different Christmas cards. If your order is over $150 DO NOT enter the hostess code. You will get all the stamping rewards and I will still send you the PDF tutorial. All qualified orders will receive the download by e-mail.

.jpeg)
.jpeg)
.jpeg)
.jpeg)
.jpeg)