

Measurements:
Night of Navy: 4¼ x 11, scored at 4¼ & 5½ - you will also score from the 4¼ bottom left score line diagonally to the top right corner
Night of Navy: 4 x 4 plus scrap for greeting layer
Designer Paper: 3⅞ x 3⅞, 1 x 4
Basic White: 4 x 4 plus scrap for greeting
Instructions:
- Fold card base in half at the 5½
- Adhere the 1¼ section of the card front closed. This is the "book binding"
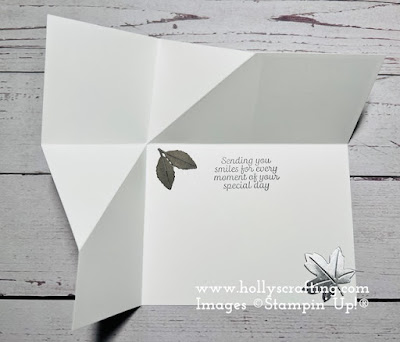
- The diagonal score line will fold in towards the inside of the card
- Adhere the 1 x 4 designer paper in the center of the "book binding" section
- Adhere the 3⅞ x 3⅞ designer paper to the 4 x 4 Night of Navy layer
- Adhere the 4 x 4 layer to just the bottom section of the card front
- Either hand cut one of the polar bears or use the beary cute punch to cut one of the coordinating bears from the paper.
- Adhere the bear you cut or punched out to the bottom right corner of the 4 x 4 Basic White layer with Stampin' Dimensionals.
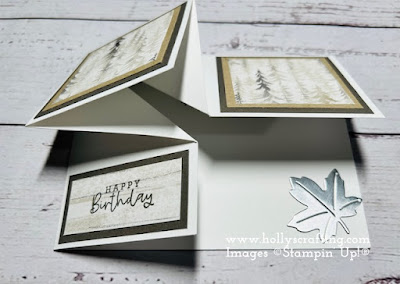
- Stamp the sentiment on the Basic White layer with Night of Navy ink. Adhere this layer to the inside of the card.
- Stamp the greeting onto the scrap of Basic White with Real Red ink. Cut with the Deckled Circle dies (the smallest one)
- Use the next to the smallest Deckled Circle die and cut the Night of Navy scrap
- Adhere the stamped greeting to the navy circle and then to the card front
- Randomly add a few of the Adhesive-Backed Snowflake Assortment snowflakes to the card front.


I have a video for you below that shows exactly how this card is assembled.
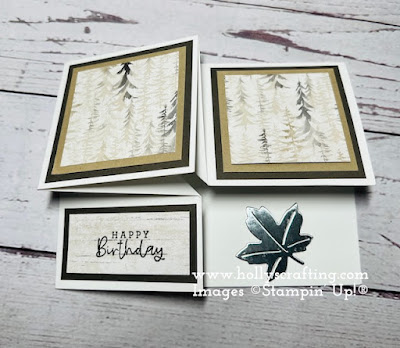
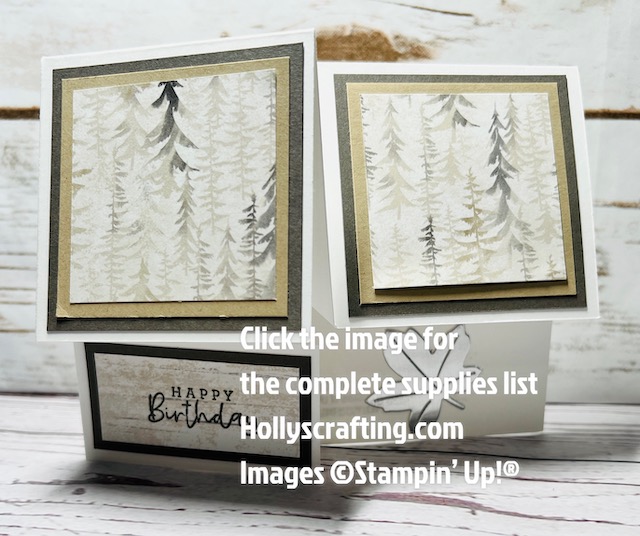
My complete supplies list can be found by clicking the image below:

Thanks so much for stopping by!! I really appreciate it.
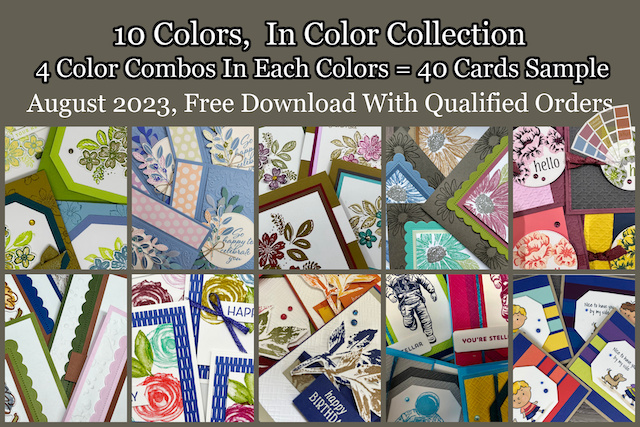
Customer Appreciation: I have teamed up with 9 other demonstrators and we will be showcasing cards made using the color coach from Stampin' Up! Place an order of $50 or more (before tax and shipping) with me and you will qualify for this fabulous tutorial which will be emailed to you to download. This month's focus is the 10 colors from the Neutrals family.

CLICK HERE to shop with me 24/7.

Customer Appreciation: I have teamed up with 9 other demonstrators and we will be showcasing cards made using the color coach from Stampin' Up! Place an order of $50 or more (before tax and shipping) with me and you will qualify for this fabulous tutorial which will be emailed to you to download. This month's focus is the 10 colors from the Neutrals family.


.jpeg)


