Hello my stamping friends. I am back today to share with you one of the cards I made for my card class this month. The card it self is pretty straight forward, but we used plastic wrap to make the designer paper. I have all of the details in the video below for you.
Measurements:
Lemon Lime Twist 8½ x 5½ scored at 4¼ for the card base
Basic White: 4 x 5¼, 2½ x 8½, 3½ x 4¾
Melon Mambo: 1½ x 5¼, 4 x 5¼
For a complete list of supplies, please click HERE. This will add all of the supplies to your shopping cart with me so be sure to uncheck the items you already have.
I have a video for you below that shows how I put this card together. I hope you enjoy.
Thanks so much for stopping by!! I really appreciate it.
To get updates in your inbox when I post to my blog, please click HERE
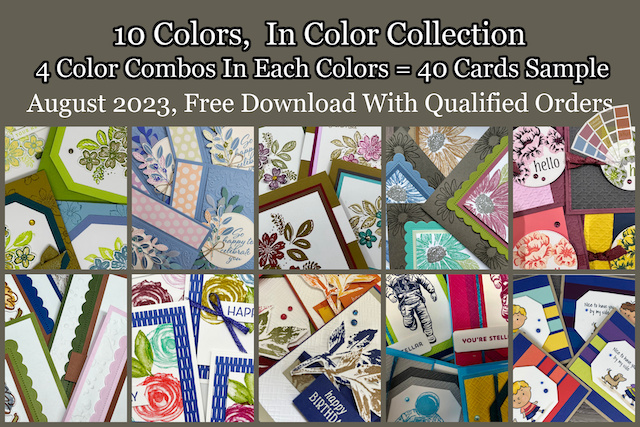
Customer Appreciation: I have teamed up with 9 other demonstrators and we will be showcasing cards made using the color coach from Stampin' Up! This month's focus is the 10 In-Colors and you will receive a PDF download of 40 cards. All orders of $50 or more (before tax and shipping and after bonus days coupons) with me will receive this fabulous tutorial.
Hello my stamping friends. I have a new video tutorial for you today using Cheerful Daisies and Darling Details with a picket fence. I have seen and done the lattice cards, but I drive by a house on my way to work every day that has a white picket fence and beautiful flowers in front of it so that was my inspiration for this card. I demonstrated this card for my teammates at our last meeting and a few of them were looking for the video, which at the time I didn't have and and it was recorded during the meeting. I love it when someone loves my project and wants to CASE it. What an honor! Below is the original card I did for the team. For this one I only used the flowers and leaves from Cheerful Daisies dies.
Here are the measurements for the card in the video.
Thick Basic White: 4¼ x 11 Scored at 5½
Basic White: 4¼ x ½ *3, 3 x 5 for stamped daisies, 1¼ x 8 for the detail layer of daisies.
Highland Heather: 2 x 4½
Fresh as a Daisy designer paper: 4⅛ x 2⅜
Subtles Highland Heather designer paper: 4⅛ x 3
Soft Sea Foam: 1 x 5
Instructions:
Cut 6 ½ inch pieces from the card front so that when you are done you will have 6 strips that measure ½ x 4⅛
Emboss the 6 strips you cut from the card front and the additional 3 strips that measure ½ x 4⅛ with the Timber embossing folder.
Lightly sponge Gray Granite ink over the embossing to distress the fence a little.
With the Take A Banners Pick A Punch, cut the tops of the 6 pickets you cut from the card base.
Adhere the designer paper that looks like the sky onto the card front.
Line up an uncut wood strip horizontally on your work station. Put a small amount of adhesive on the uncut end of the picket and adhere even with the bottom and left edge. Repeat with another picket an line up with the bottom and right edge. If you are using grid paper to line up the rest of the pickets you would skip 2 squares between each one.
Put a little adhesive on the top of each picket, line the bottom edge up with the bottom of the card base and adhere the pickets to card front over your sky paper.
Adhere the remaining two horizontal wood pieces, just putting adhesive on the section of the picket that it will adhere to.
Adhere the remaining designer paper to the inside, making the left, right and bottom margins equal.
On the 3 x 5 Basic White stamp 6 small daisies in Lemon Lolly ink. Cut with coordinating die.
Stamp the centers of the daisies with Pebbled Path ink.
Cut 6 detail daisy images with the remaining Basic White piece and adhere to top of each yellow daisy.
Cut 2 of each of all of the small detail leaves from Darling Details dies.
Cut 3 of the tall flower images from Darling Details dies from the Highland Heather piece.
Adhere some of the daisies flat and some with Stampin' Dimensionals. Be carful not to use too much glue an stick your card shut. You will just want adhesive where the flower is going to sit on the picket. I used 5 daisies on the card front.
With liquid glue tuck the purple flowers and the leaves behind the daisies.
Adhere the remaining daisy to the inside. (I forgot to do this in the video).
You can click HERE or on the picture below to see all of the supplies I used. This link will add all of the supplies to your shopping cart with me so be sure to uncheck the supplies you already have.
The video can be watched HERE or by clicking on the video below.
Thanks so much for stopping by!! I really appreciate it.
To get updates in your inbox when I post to my blog, please click HERE